Grey cards / White Balance
- James Velli

- Feb 3, 2019
- 2 min read
White balancing, is a crucial detail in the colouring of a photograph, can be done by imaging software in post production but will always look better if being referenced or adjusted pre shoot. Post, we may use a white balance profile or use a temperature slider to determine the warm/cool tonality of the whites present in the image. We may also use a "Grey Card" however, during the shooting of the photo instead, of which effects' will be able to render in post production.
Using simply a grey card as a backdrop, or using a grey card in one photo from the shoot will allow us to use that grey as a reference to the colour range based on the lighting in the room.

If we import a RAW image to Photoshop, we are presented with the "Lightroom toolkit", or raw processing toolkit which we may use to render the RAW data in whatever way we see fit. Using the white balance tool, next the hand tool and the colour sampler tool, we can select the solid grey area in the background since I have used a grey backdrop. This is not a grey card, so using this as a white balance is going to be a bit more of a stab in the dark.
Using the white balance tool we can select the area of grey that best suits the balancing we are looking for, in this example i have used on of the more solid, lesser exposed areas of the grey backdrop to get a more natural skin tone.

Grey cards often come with multiple shades of grey so that you have a better range of references, or even so you may set the white balance on DSLR's using the grey card as a reference, PRIOR to taking photos in the same setup. In the example below you will notice the image looks slightly warmer than the previous example.

In the event of no grey card, or maybe for creative or technical reasons, we can always white balance using either a preset profile. This is done using the first option in the Basic settings tab. Below this we also have a temperature slider with which we can fine tune, by numeric value (or by eye), the temperature of the white.
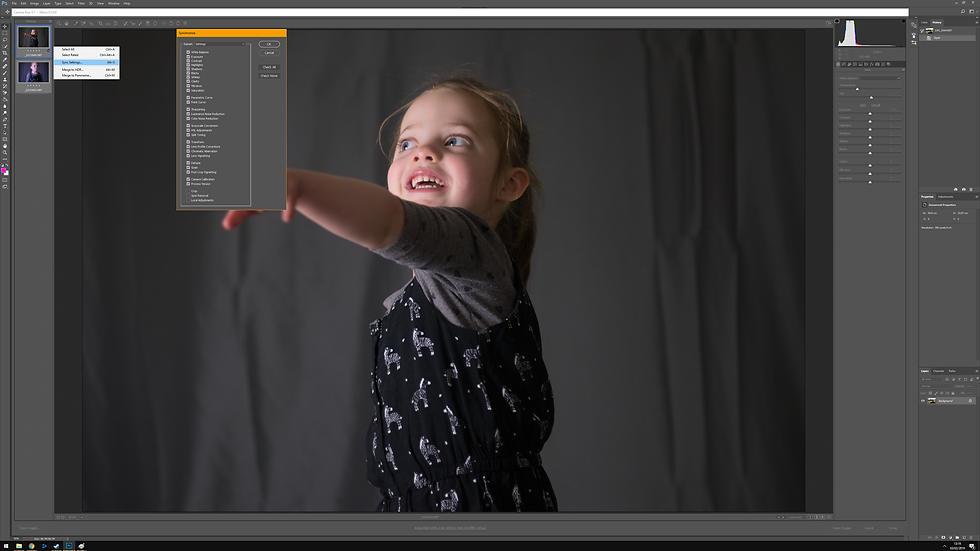
If we have multiple pictures in the same shoot then we are also able to set the white balance according to the one image we may have a grey card in. To do this, we simply select all the images we are adjusting before import, by holding shift whilst our first image is selected and clicking on our last image (relevant to our import list) or by holding control and selecting images individually, then right clicking on our original image we have white balanced already, and click "sync settings". Doing this will open up a clause window with tick boxes next to each setting we would like to synchronise.
Hitting okay will then white balance all the images using the same colour reference from the first image.


Comments